Tuesday, March 3, 2015

Our First Hatch

You guys. We hatched our very first set of chicks via an incubator! And the moms and dad were from OUR farm which to me makes it even more special. I know, I know, I'm probably overly excited about this but I don't care. We've had a broody hatch out a single chick and that was pretty fun but this is so different. To be so involved in the process was absolutely fascinating. Waiting and waiting was such torture but Sunday evening when I went in to check on the temps in the incubator and saw that first little pip made it SO worth it. I can't even put into words how excited I was. I could have stayed up all night staring at the incubator. I'd read that it can take anywhere from one hour to twenty four hours for a chick to fully hatch out so reluctantly I went on to bed.

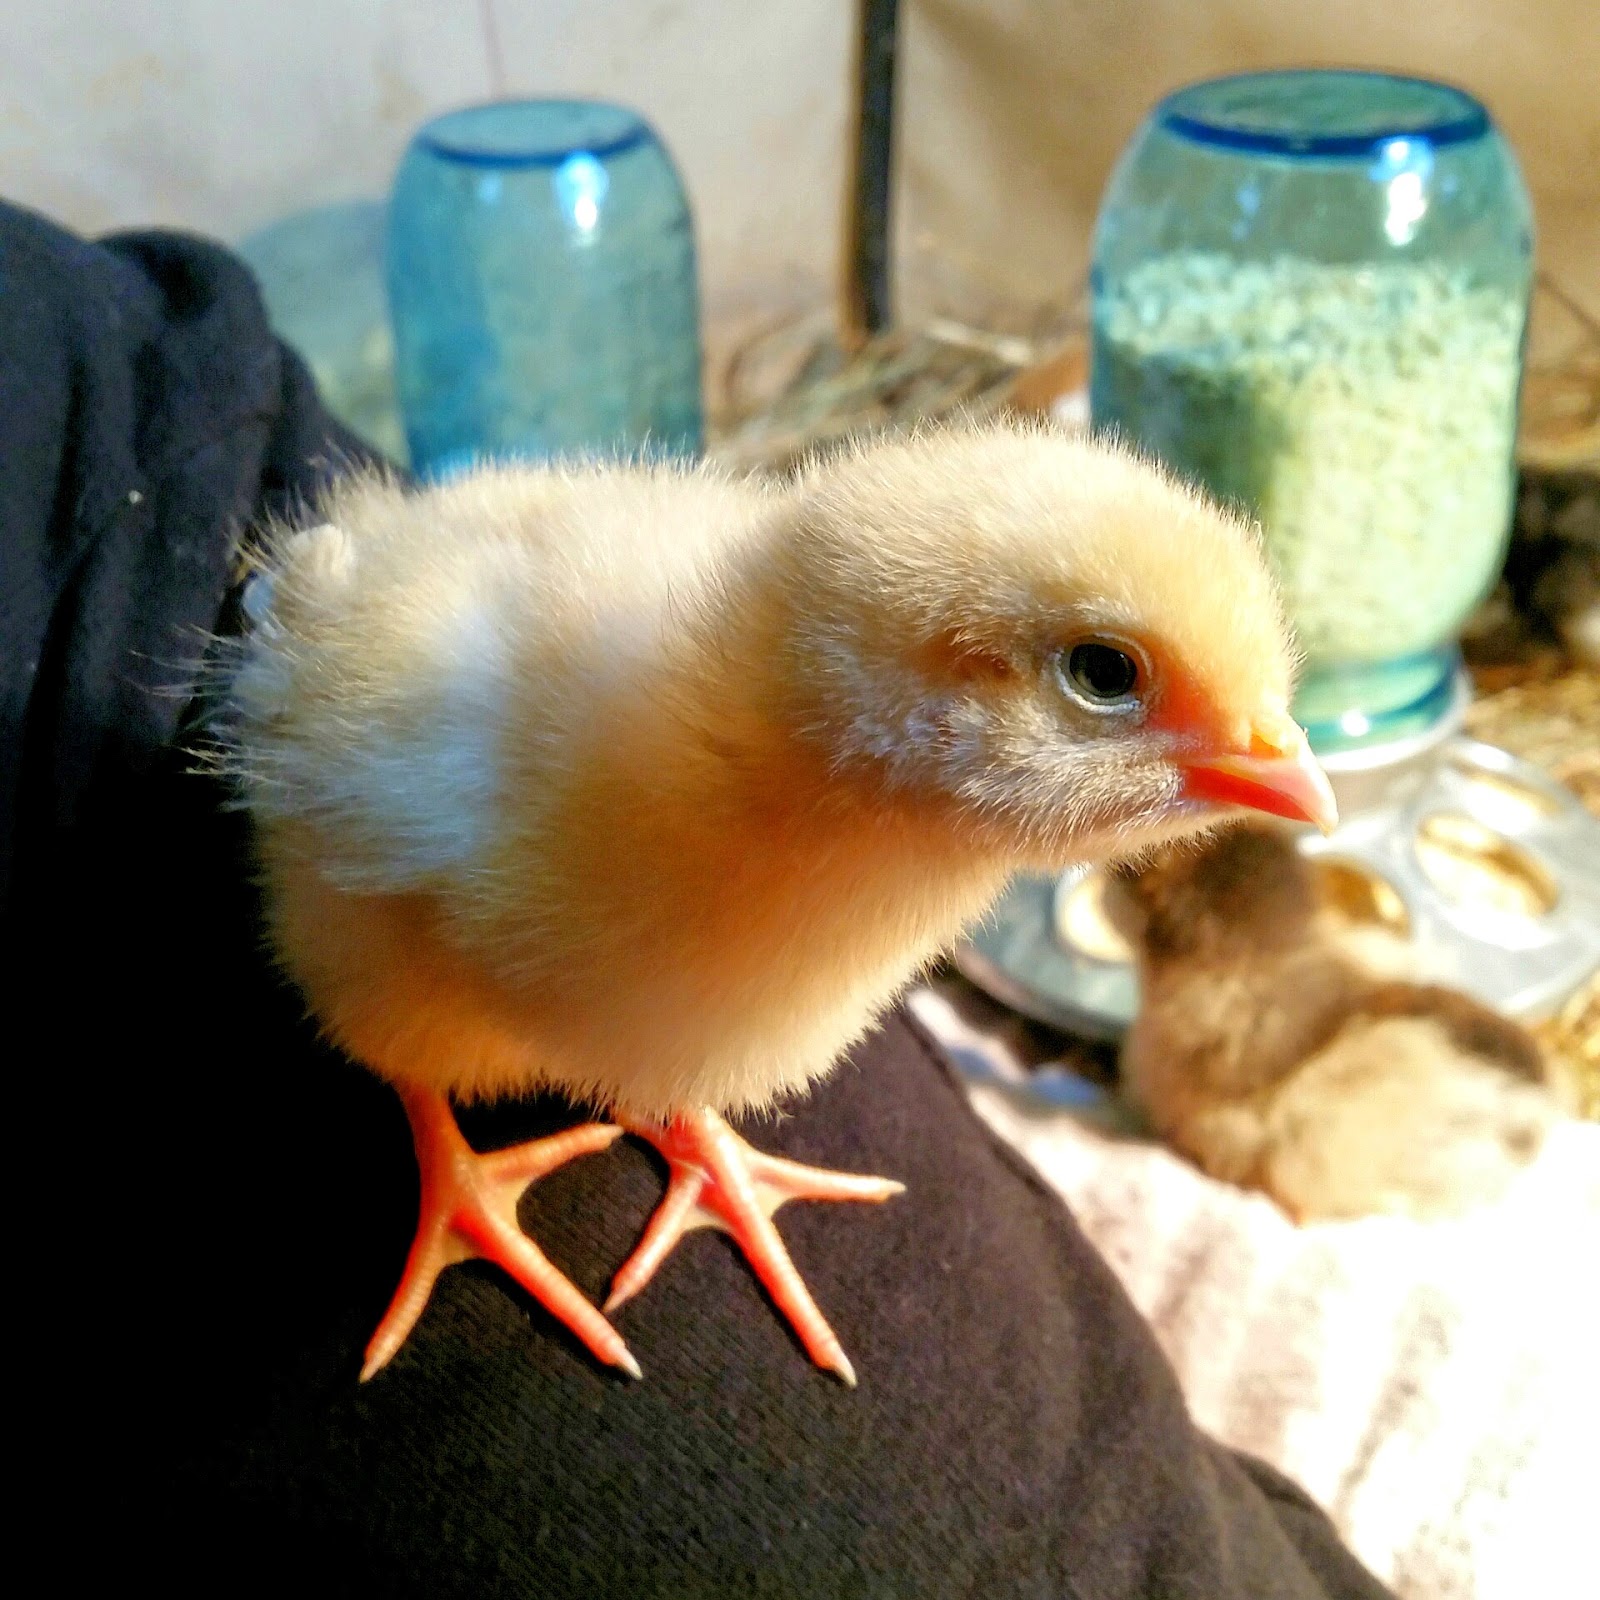
Look what was waiting for me when I woke up the next morning!


My goal was to produce wee little Olive Egger chicks. In the incubator I set one blue egg from this lady, my EE Hazel.


And six green eggs from my two Olive Egger girls, Nutmeg and Esmé.


Esmés egg is on the left, and Nutmegs is on the right. 

And here's the proud papa. Handsome, eh?


Our first generation Olive Egger, Dandelion. She definitely takes after her beautiful mama. I just can't get over how pretty she is!

 Basil, the first to hatch and one of four second generation Olive Eggers.


The whole gang freshly hatched and mostly fluffed out. Absolute perfection.

I'm ALREADY collecting eggs for another hatch. This incubator thing is addictive!

Thursday, February 19, 2015

Catching Up

Hey there! I've been away for a while and thought I'd catch you guys up on what's going on with the farm. 


We moved! While our farm in Missouri was absolutely beautiful, it was far away from our family and friends. It was certainly an adventure but we realized where we needed to be. So we bought a new place just outside of our hometown, packed up the animals and headed West! We haven't put our old place on the market yet but we'll eventually get around to it. We're slackers. 

We had to rush like crazy to get all the fencing put in for the dogs, goats, and chickens. We had a two day window to do so and we were pooped at the end of it all. 


They were pretty pleased with their new digs. The chickens immediately went to work eating, and the goats destroying everything they could. They're helpful like that.


We lost about half of our flock in Missouri to foxes and coyotes. So right away we got to work replenishing. We found a nearby breeder and picked up pretty much my 'what dreams are made of' wishlist of chickens: two Welsummers, one French Black Copper Marans, one French Blue Copper Marans, one Lavender Orpington, one black Ameracauna, and this fabulous little girl, a Chocolate Orpington bantam whom we lovingly named Truffle. She does the best 'Truffle Shuffle' in all the land. She may be small but she ain't skerd of nuthin'!

The cats took over the house.


I decided I wanted an incubator. I planned on just getting a small inexpensive one to hatch out a few chicks here and there. Turns out, all the small inexpensive ones are pretty much crap. Ultimately I splurged on the Brinsea Mini Advance because during my research I never found a negative review of it. Twelve days to go until hatch day. The anticipation is KILLING ME. In it are three speckled olive eggs from my girls Esme, three green eggs from Nutmeg, and one pretty blue egg from Hazel, one of our Easter Eggers. This picture doesn't do the color of the eggs justice, they're really a sight to behold. The father is a Black Copper Marans. The offspring should lay some totally gorgeous eggs.


Here's one of Esmes eggs sans bloom. See? Told ya they were pretty!


We got chicks! I ordered various breeds from a hatchery back in November and had been counting down the days until their arrival. This is by far my friendliest batch of chicks. 


Marmalade would roost on me all day long if I let her. 


Cherry and I started a six gallon batch of mead. I haven't made wine in eons, and I don't really know why. It's so much fun to make, and especially drink!


Up until a week ago this has been a very mild winter. Most days hovered around 40 degrees F. So naturally I got the gardening bug, ordered seeds, and excitedly began planning it.


I started my seeds on time, and was just sure Spring was around the corner. I can deal with winter if it's like this!


Then it happened. Snow. Negative temperatures. And the forecast for the next ten days isn't looking so great. It's as if winter decided to cram four months of winter into a two week period. Bitch.


But hey, I guess as long as I'm pulling these beauties out of the nesting box everyday, I'll be a happy girl. Spring will shove winter out of the limelight soon enough.

Wednesday, February 18, 2015

Let's Make Chèvre!

I've had dairy goats for a little over a year now. In that time not only have I discovered the most amazing, mischievous little companions, but also that um, goat milk is like the best thing ever. And goat cheese? Fahgetaboutit. Chèvre is smooth, creamy and has just enough bite to let you know you're eating something kinda fancy. But if you're reading my blog, you probably currently have chicken poop on your shoes so that oughta balance that fancy right out. 

Ingredients:
1 Gallon Goat Milk
1 Packet Chèvre Starter Culture
Cheese Salt (Optional)
Herbs and Spices (Optional)

Equipment:
Large Pot
Wooden Spoon
Cheese Thermometer
Cheesecloth
Colander


Pour goat milk into the large pot and warm over medium heat to 86 degrees F. If it's fresh, you may actually have to let it cool down. I don't have any goats in milk at the moment so I use frozen and it takes a while to melt and heat up. Sprinkle the chèvre starter culture over the warm milk and let rehydrate for two minutes. Do not stir.

Cover the pot full of warm milk and let sit undisturbed at room temperature for 12-18 hours. Ladle curds into your cheesecloth lined colander and allow to drain for 4-8 hours. You can nix the colander all together and hang the cheesecloth to drain but I find using the handles of a colander to suspend over a deep bowl easiest to work with. If you don't have a thousand animals in the house like we do, you could just let it drain sitting in your kitchen sink.

Ba-bam! Congratulations, you just made a super fancy sounding cheese. Now tell everyone you know and impress the heck out of them. 

To shape into balls or logs, chill the cheese for a couple of hours first - shaping will be much easier. Pictured clockwise from upper left is plain salted, rosemary garlic, cinnamon pecan, and lastly (and my absolute favorite) tomato basil. Get creative with flavor combinations,
almost everything pairs well with Chèvre.

Tuesday, February 17, 2015

Watering Can Garden Art


I'm with you, I'm ready for spring. This cold, snow, and ice business is for the birds. Not my birds though, they hate it too. We accumulated 6-8 inches of snow Sunday night and my chickens refuse to leave their coop. I can't say I blame them, I wouldn't want my bare tootsies in the snow either! Here in Southern Illinois we've been teased with warm weather a few times, then we're quickly reminded that it is in fact still winter. Boo. So I'm getting some pretty serious cabin fever and I'm longing to get my hands in my garden. We've moved to a whole new farm since my last post back in August, so I have lots of planning, constructing, and decorating to get done. I like a cute garden, can you blame me?

I was perusing the back alleys of Pinterest when I found a picture of a watering can turned garden art. Too cute! The post didn't come with detailed instructions (really neither does mine), but I figured it out. And I know you can, too!

I didn't have a metal watering can lying around so I did have to purchase one from our local feed store. No biggy. But I did have wire and a necklace I've never once worn hanging out in the house. I took the necklace apart and got to work. Working with the wire, I fed it through the holes of the watering can into the water reservoir and attached a bead at each end, making sure to twist the wire tight to secure the bead. Then I pulled the wire back through the watering spout until I met resistance. I then attached a bead onto the free strand of wire about every inch. You can make each bead closer or further apart, depending on your supply. I twisted the wire underneath each added bead to secure it in place. To finish a strand I would simply wrap the wire around the end bead and twist to close like you would a bread tie.

Voila! See? Super simple stuff and it makes for a delightful, whimsical piece of garden art!

Tuesday, August 19, 2014

Zesty Pickled Cauliflower


Spicy Pickled Cauliflower
makes about eight pints

3 lbs cauliflower, divided into small florets (about two heads)
4 C. Water
4 C. White Vinegar
1/4 C. Pickling Salt
2 Bell Peppers, sliced and divided into eight portions
5 Jalapenos, sliced and divided into eight portions
8 Garlic Cloves
4 tsp. Mustard Seed
2 tsp. Peppercorns
2 tsp. Ground Cumin

Prepare canner, jars, and lids. Combine water, vinegar, and salt in a saucepan. Bring to a boil, stirring to dissolve the salt. Reduce heat to low and keep hot until ready to use. Into each jar put one clove of garlic, 1/2 tsp. mustard seed, 1/4 tsp. peppercorns, and 1/4 tsp. ground cumin. Pack cauliflower and a portion each of jalapenos and bell peppers into each jar, remove air bubbles, wipe rim. Center lid on jars and screw down bands to fingertip tight. Process jars for fifteen minutes. Turn off heat, remove lid, and allow jars to sit in the water for an additional five minutes. Cool, label, and store.

Pickled Okra

My husband can easily eat two pints of pickled okra in one sitting. He loves the stuff. I had never even heard of pickled okra before he and I got together. The first time I tried pickled okra was during Christmas dinner at his grandma's house. At first I was unsure. It was so different from the only other way I'd ever had okra - fried. I like to try things at least twice before I decide whether I like it or not, so I ate another crunchy little pickled okra pod. That was all it took for my taste buds to decide these things are seriously awesome.


Pickled Okra
makes about eight pints

7 lbs small okra pods, trimmed
4 C. Water
4 C. White Vinegar
4 Tbsp. Pickling Salt
4 tsp. Dill Seed
8 Garlic Cloves
2 tsp. Red Pepper Flakes
2 tsp. Ball Pickle Crisp

Prepare canner, jars, and lids. Combine water, vinegar, and salt in a saucepan. Bring to a boil, stirring to dissolve the salt. Reduce heat to low and keep hot until ready to use. Into each jar put one clove of garlic, 1/2 tsp. dill seed, 1/4 tsp. Red Pepper Flakes, and 1/8 tsp. Ball Pickle Crisp. Pack okra pods into jars, remove air bubbles, wipe rim. Center lid on jars and screw down bands to fingertip tight. Process jars for fifteen minutes. Turn off heat, remove lid, and allow jars to sit in the water for an additional five minutes. Cool, label, and store.

Tuesday, June 10, 2014

Simple Homemade Goat Cheese


We've had two goats in milk for almost two day now. I'm getting over half a gallon a day. On paper it doesn't sound like much, but only two days in, I can see that I'm going to be swimming in goat milk by the end of the week. I drink a lot of milk, but not half a gallon per day! One thing I was looking forward to when getting mama goat in milk (aside from drinking the delicious milk) was making cheese. Good thing, too, cuz we have plenty of milk to spare for making various dairy products. And lemme tell ya, not only is goat milk delicious, but so is the cheese. This cheese tastes like mozzarella to me, so I can definitely see us using it on pizza, pasta, sandwiches, and anywhere else mozzarella would be tasty. Which to me is pretty much on anything. And best of all, it's ridiculously simple to make - only two ingredients required and can be made in twenty minutes!

First things first, you need to get yourself a really cute goat in milk. Or go with the less fun options - maybe a friend has some goats in milk, or you can even purchase goat milk from the store. I personally vote that you get a goat, but I'm biased.

Now, gather your ingredients, and supplies:

- 1/2 Gal. of goat milk (you can double the recipe if you have more milk, just be sure to double the vinegar)
- 1/4 C. White Wine Vinegar, White Vinegar, or Apple Cider Vinegar
....yes, just two ingredients!
- Optional, herbs to flavor

*Update: I've now used both white wine vinegar, and white distilled vinegar. White wine vinegar creates a firmer, more crumbly cheese (good for salads), while white distilled seems to create a softer, more spreadable cheese (excellent for toasted bread). Not sure why this is, if anyone has the answer, I'd be glad to hear it! :)

- Large Pot
- Wooden Spoon
- Colander
- Cheese Cloth
- Cooking Thermometer

Pour milk into the pot, and heat on medium heat until the milk reaches 185 degrees, stirring constantly to prevent burning. It took about ten minutes for mine to reach 185 degrees.

Stir in vinegar, and remove from heat. The milk will curdle within a few seconds. Allow curdled milk to rest for five minutes. Meanwhile, line your colander with the cheese cloth.

Pour the curds into the cheesecloth lined colander. You can place a bowl underneath the colander to catch the whey if you wish to save it to use in cooking.

Squeeze the excess moisture from the cheese - careful, it's hot! You can leave as little or as much liquid in your cheese as you like. I squeezed as much liquid out as I could, which resulted in a drier cheese.

Crumble cheese up in a bowl.

Add herbs. I used basil, and garlic salt.

I used a small bowl as a mold, but almost anything solid with four sides would work - be creative! I pressed the cheese down using my hands, then really packed it in using the bottom of a spice jar. The tighter you pack it, the more solid of a cheese you'll get.

Voila! This cheese is so wonderful, and easy to make. I have cheese making supplies, such as citric acid, and rennet tablets but something about just being able to use milk, and vinegar sounded awesome to me. It's so simple, and turned out beautifully. I will be making this cheese again, and again, and again. And the combinations of flavorings, and herbs are truly endless. Tomorrow I'll be making goat cheese with lavender and honey. Yum!

Monday, June 9, 2014

Mulberry Jam & Goat Milk


I need to get a move on things. I realized this morning that by this time last year, my canning adventures were well under way. I had already canned Blueberry Muffin Jam, Strawberry Jam, Strawberry Black Pepper Jam, Strawberry Mint Black Pepper Jam, and Peach Jam. I've pretty much had blinders on the last couple of weeks as we've been finishing up various projects here on the farm. We moved and expanded the goat yard (putting up fencing is really hard work in case anyone was wondering), converting one of our two barn overhangs into the new chicken coop, and gutting the old chicken coop to serve as the new goat house. It may not sound like much, but with just the two of us to do the work, my husband and I have been working our tails off. We had to get everything done by last Saturday night, as we were picking up three new dairy goats bright and early Sunday morning. I am SO pleased with these three new goats. They come from excellent milk lines, are stand trained (they're ever so patient with my newby milk maid hands), and well mannered. They are incredibly sweet, and snuggly.

Gingerbread (left), Butterscotch (Center), and Moon Pie (right).

Two of the new goats just freshened and are giving a quart to a quart and a half a day, and the third is a two month old doeling. We've never such a young doeling before, and I'm about to die of all the cute.

Two weeks ago, we drove two hours to pick up a goat in milk that we found on craigslist. We didn't find out until we got there that she had been running with several bucks, and may or may not be pregnant. Against my better judgement (and not wanting to waste such a long time on the road), we brought her home. She was almost impossible to milk. We didn't have a milk stand at the time (obviously a huge mistake that I'm laughing at myself for), and she wasn't familiar with the whole milking process (contrary to what we had been told by the previous owners, grrr). She kicked, and screamed, and kicked some more. After half an hour of struggling with her, we finally got about half a cup of milk out of her. Sigh. The milk was okay, but had a bit of a goaty taste to it. I can eat or drink just about anything, especially if its something I've worked so hard to obtain, so you better believe I used it!

Until we brought these girls home yesterday, I thought that was just how goat milk tasted; okay, but not up to snuff with cow milk. It turns out that goat milk sans buck scent is seriously incredible. I just polished off a pint of the stuff while writing this post. It's sweet, creamy heaven in a glass.

This morning as I was letting the chickens out of their new coop to free range around the farm, I looked over to see one of our many mulberry trees loaded with black, shiny berries. Oh my word. I grabbed a bucket, and began picking. While I was picking, the chickens discovered I had picked an entire bowlful of mulberries 'just for them'. 

I picked what I could reach, then laid down an old king sized sheet underneath the tree, and shook the branches like a mad woman! Good thing I don't have any neighbors... it looked a little like I was humping the air, and hanging onto the branches for balance.

The ducks got wind that there were mulberries to be had, and left their beloved pond to come get some.
 
Otis was very impressed with my harvest. He's pretty much the best cat ever. 

I ended up with five and a half cups of delicious berries destined for jam.


This recipe was adapted from the Ball Book of Home Preserving.

Mulberry Jam
makes 4 half pints

3 C. Crushed Mulberries (I leave the little stems on, but feel free to take them out)
2 C. Granulated Sugar
1/2 C. Lemon Juice
3 T. Ball Low Sugar Pectin
1/4 tsp. Butter (optional, it reduces foaming while the jam is cooking).

Prepare jars, and lids. Combine mulberries, lemon juice, and butter in a 6- or 8-quart saucepan. Whisk in pectin. Bring mixture to a full rolling boil that can not be stirred down, over high heat, stirring constantly. Add entire measure of sugar, stirring to dissolve. Return mixture to a full rolling boil. Boil hard one minute, stirring constantly. Remove from heat. Skim foam if necessary. Ladle hot jam into hot jars leaving 1/4 inch headspace. Wipe rim. Center lid on jar. Apply band until fit is fingertip tight. Process in a boiling water canner for 10 minutes. Remove lid and let stand in canner for additional 5 minutes. Remove jars, cool, and store.

Monday, May 19, 2014

Farm Update

It's been a while since I've posted. I haven't posted much in general in the last few months. Forgive me, it's a busy time of year, ya know. There are way more chores, and work to be done now that the weather is nice. I love it! I can say with utmost certainty that farm livin' is the life for me. 

Marmalade, out and about on the farm, looking for an afternoon snack.

Speaking of chickens (as always), the weekend before last, we gave the coop a fresh coat of paint. Random tip for anyone out there considering the same: get a paint sprayer! Something that would have taken us two days to do, took my husband twenty minutes. And it was HOT that day, so we were happy to get it done quickly.

Afterward, we cooled off by taking a dip in the pond. I'm not gonna lie, it took my husband a good twenty minutes of coaxing to get me to step foot in the water, and an additional twenty to get waste deep. The water felt so good on that hot day, but I'm a little more than freaked out by the thought of water snakes, and snapping turtles. Really though, can you blame me!?

 Our little girls are out free-ranging in the big world now. Two months old, and growing!

We have several Easter Eggers, and Olive Eggers, but I just couldn't wait another two months to get a blue egg. I'm impatient, okay? So I found a woman that had six pullets for sale (two blue egg layers in the mix). Though Priscilla here (a Silver Laced Wyandotte) lays a brown egg, she's pretty and very inquisitive; so she came home with me, too.

Whilst mowing the lawn back by the chicken coop one day last week, I spotted a very large bed of asparagus. Then quickly squealed with delight like a little girl. I love, love, love asparagus. It takes so long to establish, and with all the other stuff going on, I just didn't mess with planting any this year. This was a wonderful and tasty surprise that we enjoyed for dinner that night.

My fifty foot row of yard long beans have sprouted.
I planted a fifty foot row of three different types of cucumbers. I'm especially excited for the Mexican Sour Gherkins.

Three fifty foot rows of tomatoes went in a couple weeks ago. Seventy-two tomato plants in total. Can you say mega-super-ultra canning fun this summer?

This morning I spotted the first tomato bloom. Ripe, juicy, garden fresh heirloom tomatoes; need I say more?

 The garden so far. Right now it just looks like a somewhat tilled patch of dirt, but I promise there are plants in there! This weekend we'll be expanding the garden to make room for pumpkins, watermelon, and winter squash.

The fruit trees have long since lost their blooms, and now have tiny fruit. Peaches are one of my favorite fruits to preserve. Luckily it appears our peach tree will give us a good harvest this summer.

Good thing I make wine, otherwise I don't know what I'd do with all of the grapes we're going to get. I'm gonna be a wine making (and drinking) fool. You won't hear me complaining! You may not hear me at all; I may be off by myself, tipsy, and happily rolling around in the grass.


"Can I have some of those grapes you were talking about?" Broomhilda, you have something on your, uh... never mind.

And finally, my favorite chore of the day: collecting fresh, beautiful eggs. It just doesn't get any better than farm life, folks.